If you are researching how to install shingles on a roof, it is important to understand that roofing work involves working at height and can be hazardous. Our roofers have the safety equipment, experience, and knowledge needed to work on steep or complex roofs. For you, understanding the installation process can still be useful when planning a roof replacement, discussing a project with a contractor, or identifying potential installation problems.
What You Need Before Installing Roof Shingles?
Before beginning a shingle installation, inspect the entire roof system. The roof deck should be structurally sound, dry, and free from rotten or damaged sections. Any damaged decking should be repaired before new roofing materials are installed.
- Asphalt shingles
- Starter shingles
- Roofing underlayment
- Drip-edge flashing
- Ice and water protection where required
- Roofing nails
- Ridge-cap shingles
- Flashing
- Chalk line
- Tape measure
- Utility knife
- Hammer or approved roofing nailer
- Appropriate fall-protection equipment
Prepare and Inspect the Roof Deck
The first stage of learning how to install shingles on a roof is preparing the surface underneath them. If replacing an existing roof, old shingles and underlayment may need to be removed according to the project’s requirements.
- Soft or rotten wood
- Water damage
- Loose decking
- Protruding nails
- Damaged areas around roof penetrations
A strong and properly secured deck provides the foundation for the new roofing system. Installing shingles over a damaged substrate can lead to premature roof problems.
Install Leak Protection and Underlayment
After the deck is prepared, install the appropriate leak-protection materials and underlayment. It depends on the roof design and climate, ice and water protection may be installed in vulnerable areas such as eaves, valleys, and around penetrations.
Install it from the lower portion of the roof upward, maintaining the overlaps specified by the product manufacturer.
Proper underlayment installation is particularly important because it provides secondary protection if water gets beneath the shingles.
Install the Drip Edge
Drip-edge flashing helps direct water away from the roof edge and toward the gutter system. It also helps protect the roof deck and fascia from moisture.
The drip edge should be installed according to the roofing system’s specifications. Pay special attention to corners, rake edges, eaves, and transitions.
Incorrectly installed edge flashing can create pathways for water intrusion, so this stage should not be rushed.
Establish the Shingle Layout
A straight, consistent layout is essential for an attractive and functional shingle roof.
Use a chalk line to establish horizontal reference lines and maintain the manufacturer’s specified shingle exposure. However, layout lines can help keep courses straight as you move across and upward on the roof.
Install the Starter Course
The starter course is installed along the lower edge before the main field shingles. It helps protect the roof edge and provides the foundation for the first course.
This stage is important because improperly positioned starter material can affect water drainage and the alignment of every shingle course above it.
Install the First Shingle Course
Once the starter course is ready, begin installing the first full course of shingles.
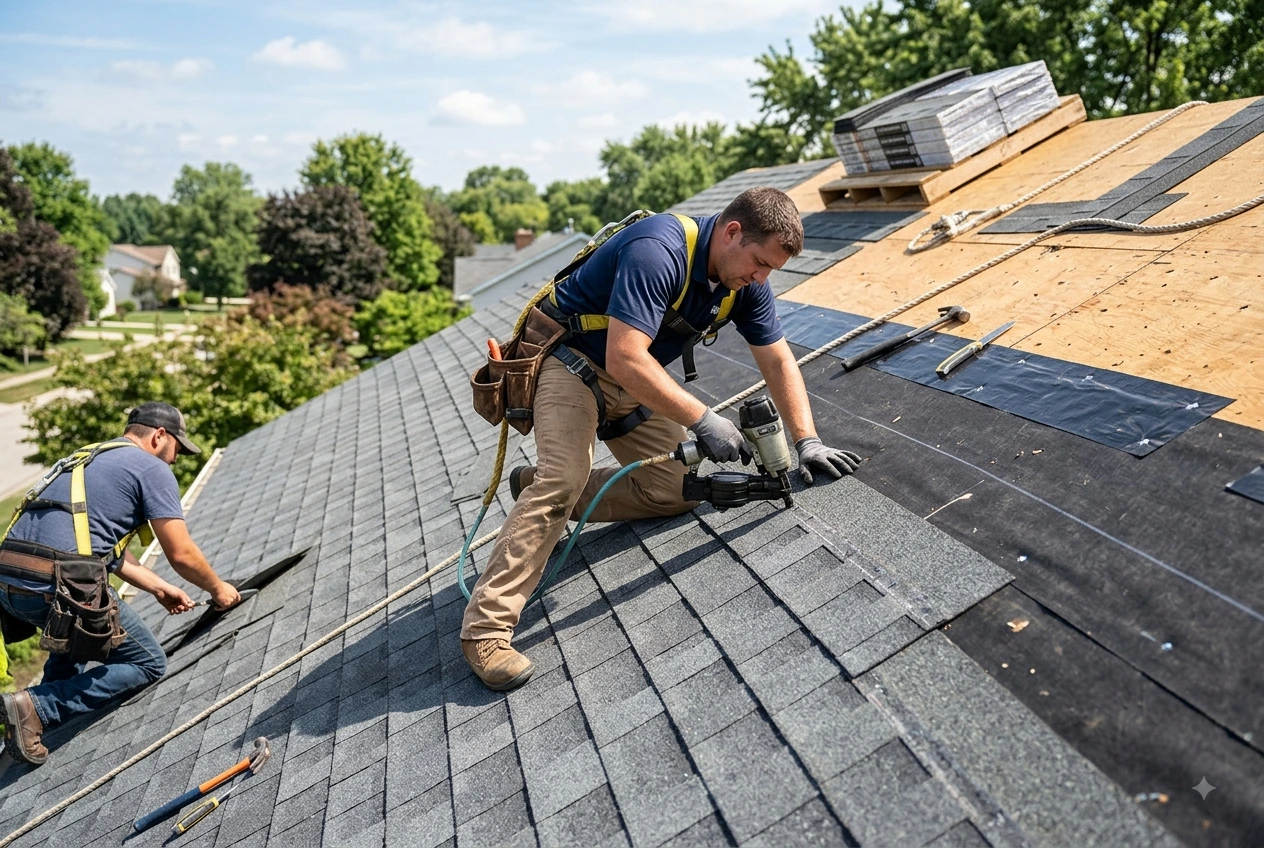
Position each shingle according to the manufacturer’s required exposure and alignment. Secure the shingles using the specified number and location of roofing nails.
Some roofing systems require different fastening patterns depending on wind exposure, roof slope, and product specifications. Manufacturers may also specify additional fastening in high-wind areas.
Continue Installing Staggered Courses
The next courses should be installed with the correct stagger or offset. This prevents the vertical joints between shingles from lining up and helps create the intended weather-resistant pattern.
Work systematically across the roof while maintaining consistent exposure and alignment. Avoid unnecessarily bending, dragging, or damaging the shingles during installation.
How to Install Solar Panels on Roof?
Homeowners considering solar energy should think about the roof condition before adding panels. If the roof is approaching the end of its useful life, it may be more practical to address roofing work before installing a solar array.
It is essential to understand how to install solar panels on roof? It includes more than simply attaching panels to shingles. A solar installation normally includes structural assessment, mounting hardware, roof attachment points, flashing, electrical components, and appropriate waterproofing.
Because solar installation combines roofing and electrical work, it is generally best handled by qualified professionals who can coordinate the roof and solar systems.
How to Install Standing Seam Metal Roof?
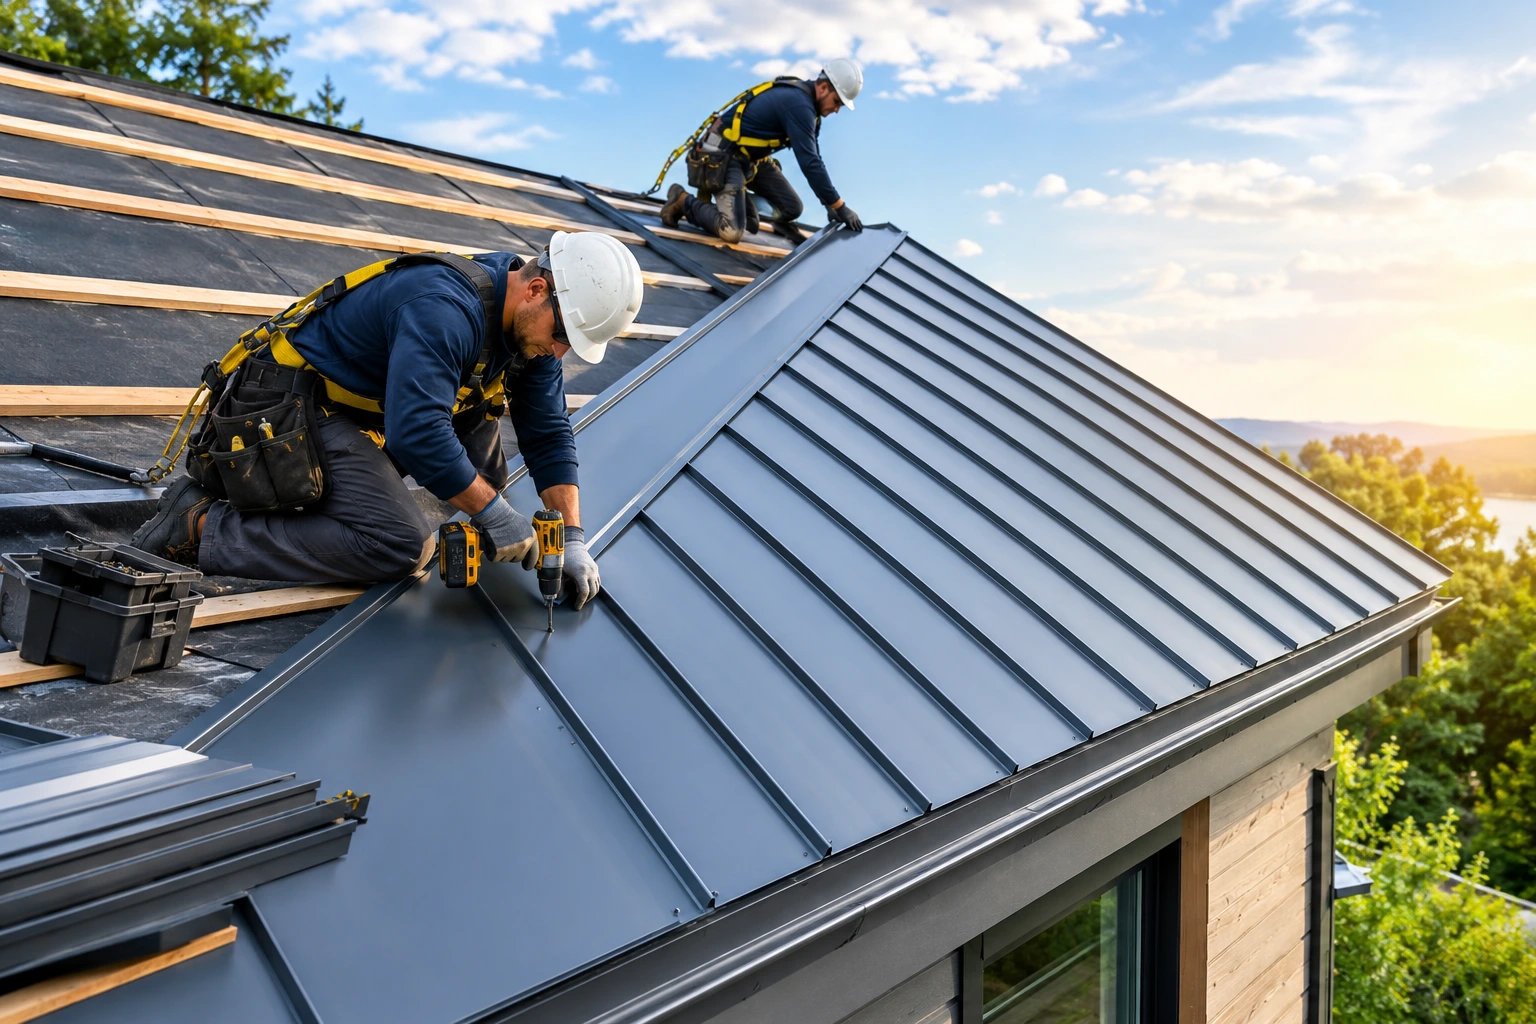
Another roofing option you may consider is standing seam metal roofing. Learning how to install standing seam metal roof requires understanding panel layout, clips or fasteners, seams, flashing, penetrations, and thermal movement.
Standing seam systems typically use long metal panels with raised seams that connect adjacent panels. Depending on the system, concealed clips or other fastening methods may allow the panels to expand and contract with temperature changes.
The installation process includes preparing the roof deck, installing appropriate underlayment, establishing panel layout, installing trim and flashing, positioning panels, securing the panels using the specified fastening system, and closing or locking seams.
Metal roofing installation is different from asphalt shingle installation. Mixing techniques from one roofing system with another can cause leaks, movement problems, or premature material failure.
Final Inspection and Cleanup
Check that courses are straight, fasteners are correctly positioned, flashing is properly installed, and ridge areas are completed according to the roofing system.
Roof penetrations should be inspected for proper flashing, and ventilation components should remain unobstructed.
Remove loose roofing materials, nails, packaging, and debris from the roof and surrounding property.
Frequently Asked Questions
How to install shingles on a roof safely?
To install shingles safely, begin with a sound roof deck, install the required underlayment and drip edge, establish proper layout lines, install starter shingles, and then place the main shingle courses.
What materials are needed for shingle roof installation?
The materials include asphalt shingles, starter strips, roofing underlayment, drip-edge flashing, roofing nails, flashing materials, ridge-cap shingles, and appropriate ventilation components.
How to install solar panels on roof without causing leaks?
The solar mounting system should be compatible with the existing roofing system, and qualified professionals should handle the installation to reduce the risk of leaks or structural damage.
How to install standing seam metal roof correctly?
Standing seam metal roofing includes preparing the deck, installing suitable underlayment, fitting edge and penetration flashing, positioning metal panels, securing them with the specified clips or fasteners.
Can I install new shingles myself or hire a professional?
Small roofing repairs might be manageable for experienced individuals, but complete shingle installation includes fall risks and requires knowledge of flashing, ventilation, fastening, and building requirements.